Leaderboard

Popular Content
Showing content with the highest reputation since 06/14/2026 in all areas
-
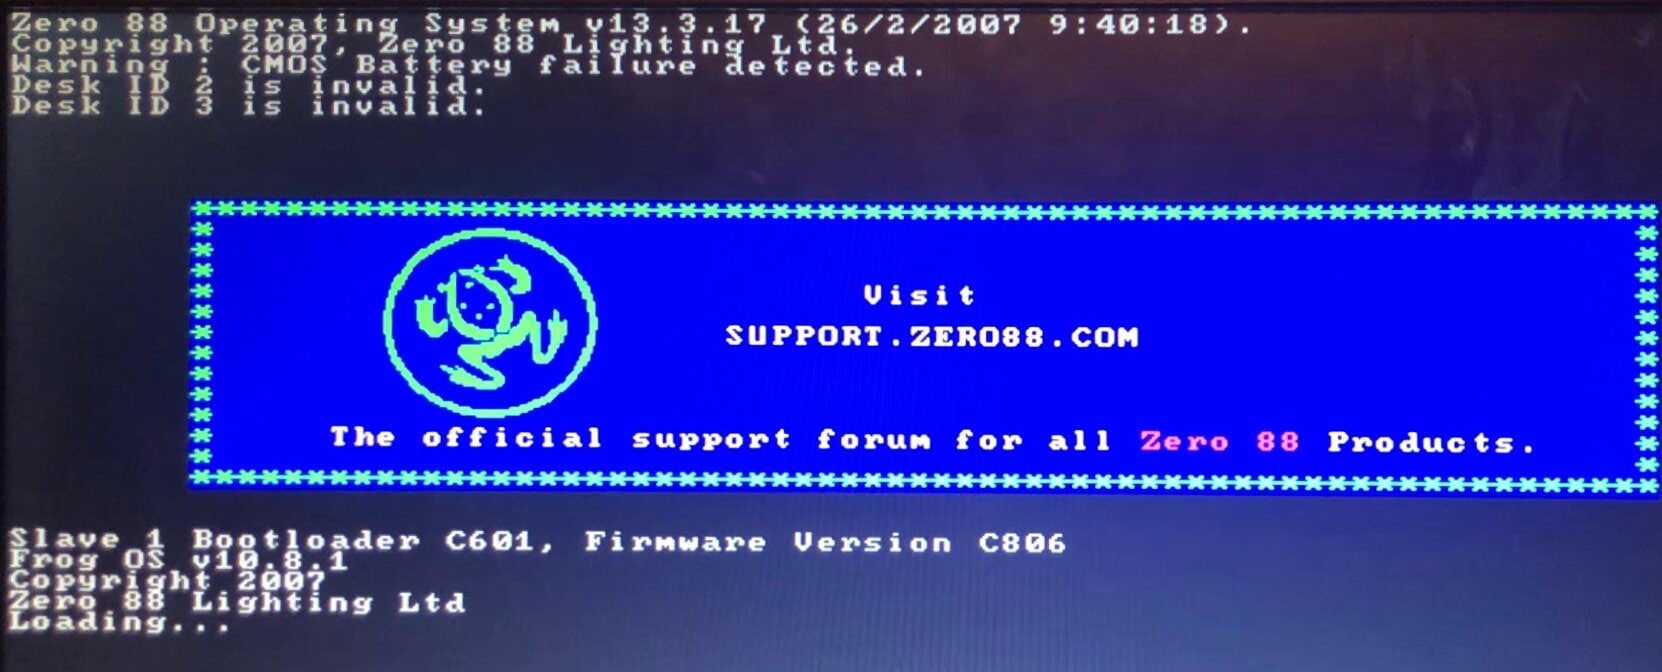
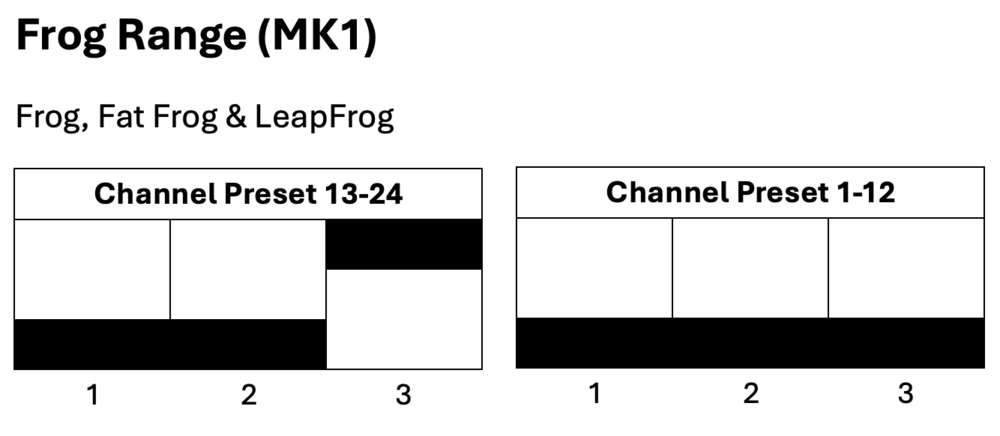
I agree with kgallen, this is most likely a battery issue. The battery is what holds the date and time along with the showfile data, so once the desk loses power it loses those if no battery is present. The time then resets and counts up from zero when powered on each time. Are you getting a message on the external monitor saying 'Warning : CMOS Battery failure detected.'? Following kgallen's advice - without attempting to reinstall the Frog Software, try powering on with a fresh battery and let the desk load into the memories screen, then cut power and turn on again. You should find that if the battery has been installed correctly, the second restart shouldn't show the 'Desk ID <number> is invalid.' message. As far as I know with the dipswitches on the channel fader PCBs, they are only used to tell the desk software which board is which. However, it would be a good idea while you've got the desk open to check they are in the correct position anyway. I hope this helps.
 1 point