Edward Z88
-
Posts
3,294 -
Joined
-
Last visited
-
Days Won
85
Everything posted by Edward Z88
-
Hi Fred, Hope you’re well. That’s great, glad to hear you have decided on FLX S48. Rather than me explain this on the forum, you may find watching the video below helpful... The first half of this video goes in depth on how to program a chase, and all the options available. The second half of the video then goes in-depth on effects. Give this a watch and let me know how you get on. If you would like any particular pointers, please do let me know. Edward
-
Hi Gabriel, No problem, thanks for the information. Just so you are aware, those training sessions are primarily for our FLX consoles, but as Solution XL runs the same software as FLX, most will be applicable to Solution XL too. Some of the buttons you see will be different though. If you have any other questions whilst you learn the console do let me know. Edward
-

wireless connection and setting name
Edward Z88 replied to Gabriel Lau's topic in Solution & Solution XL
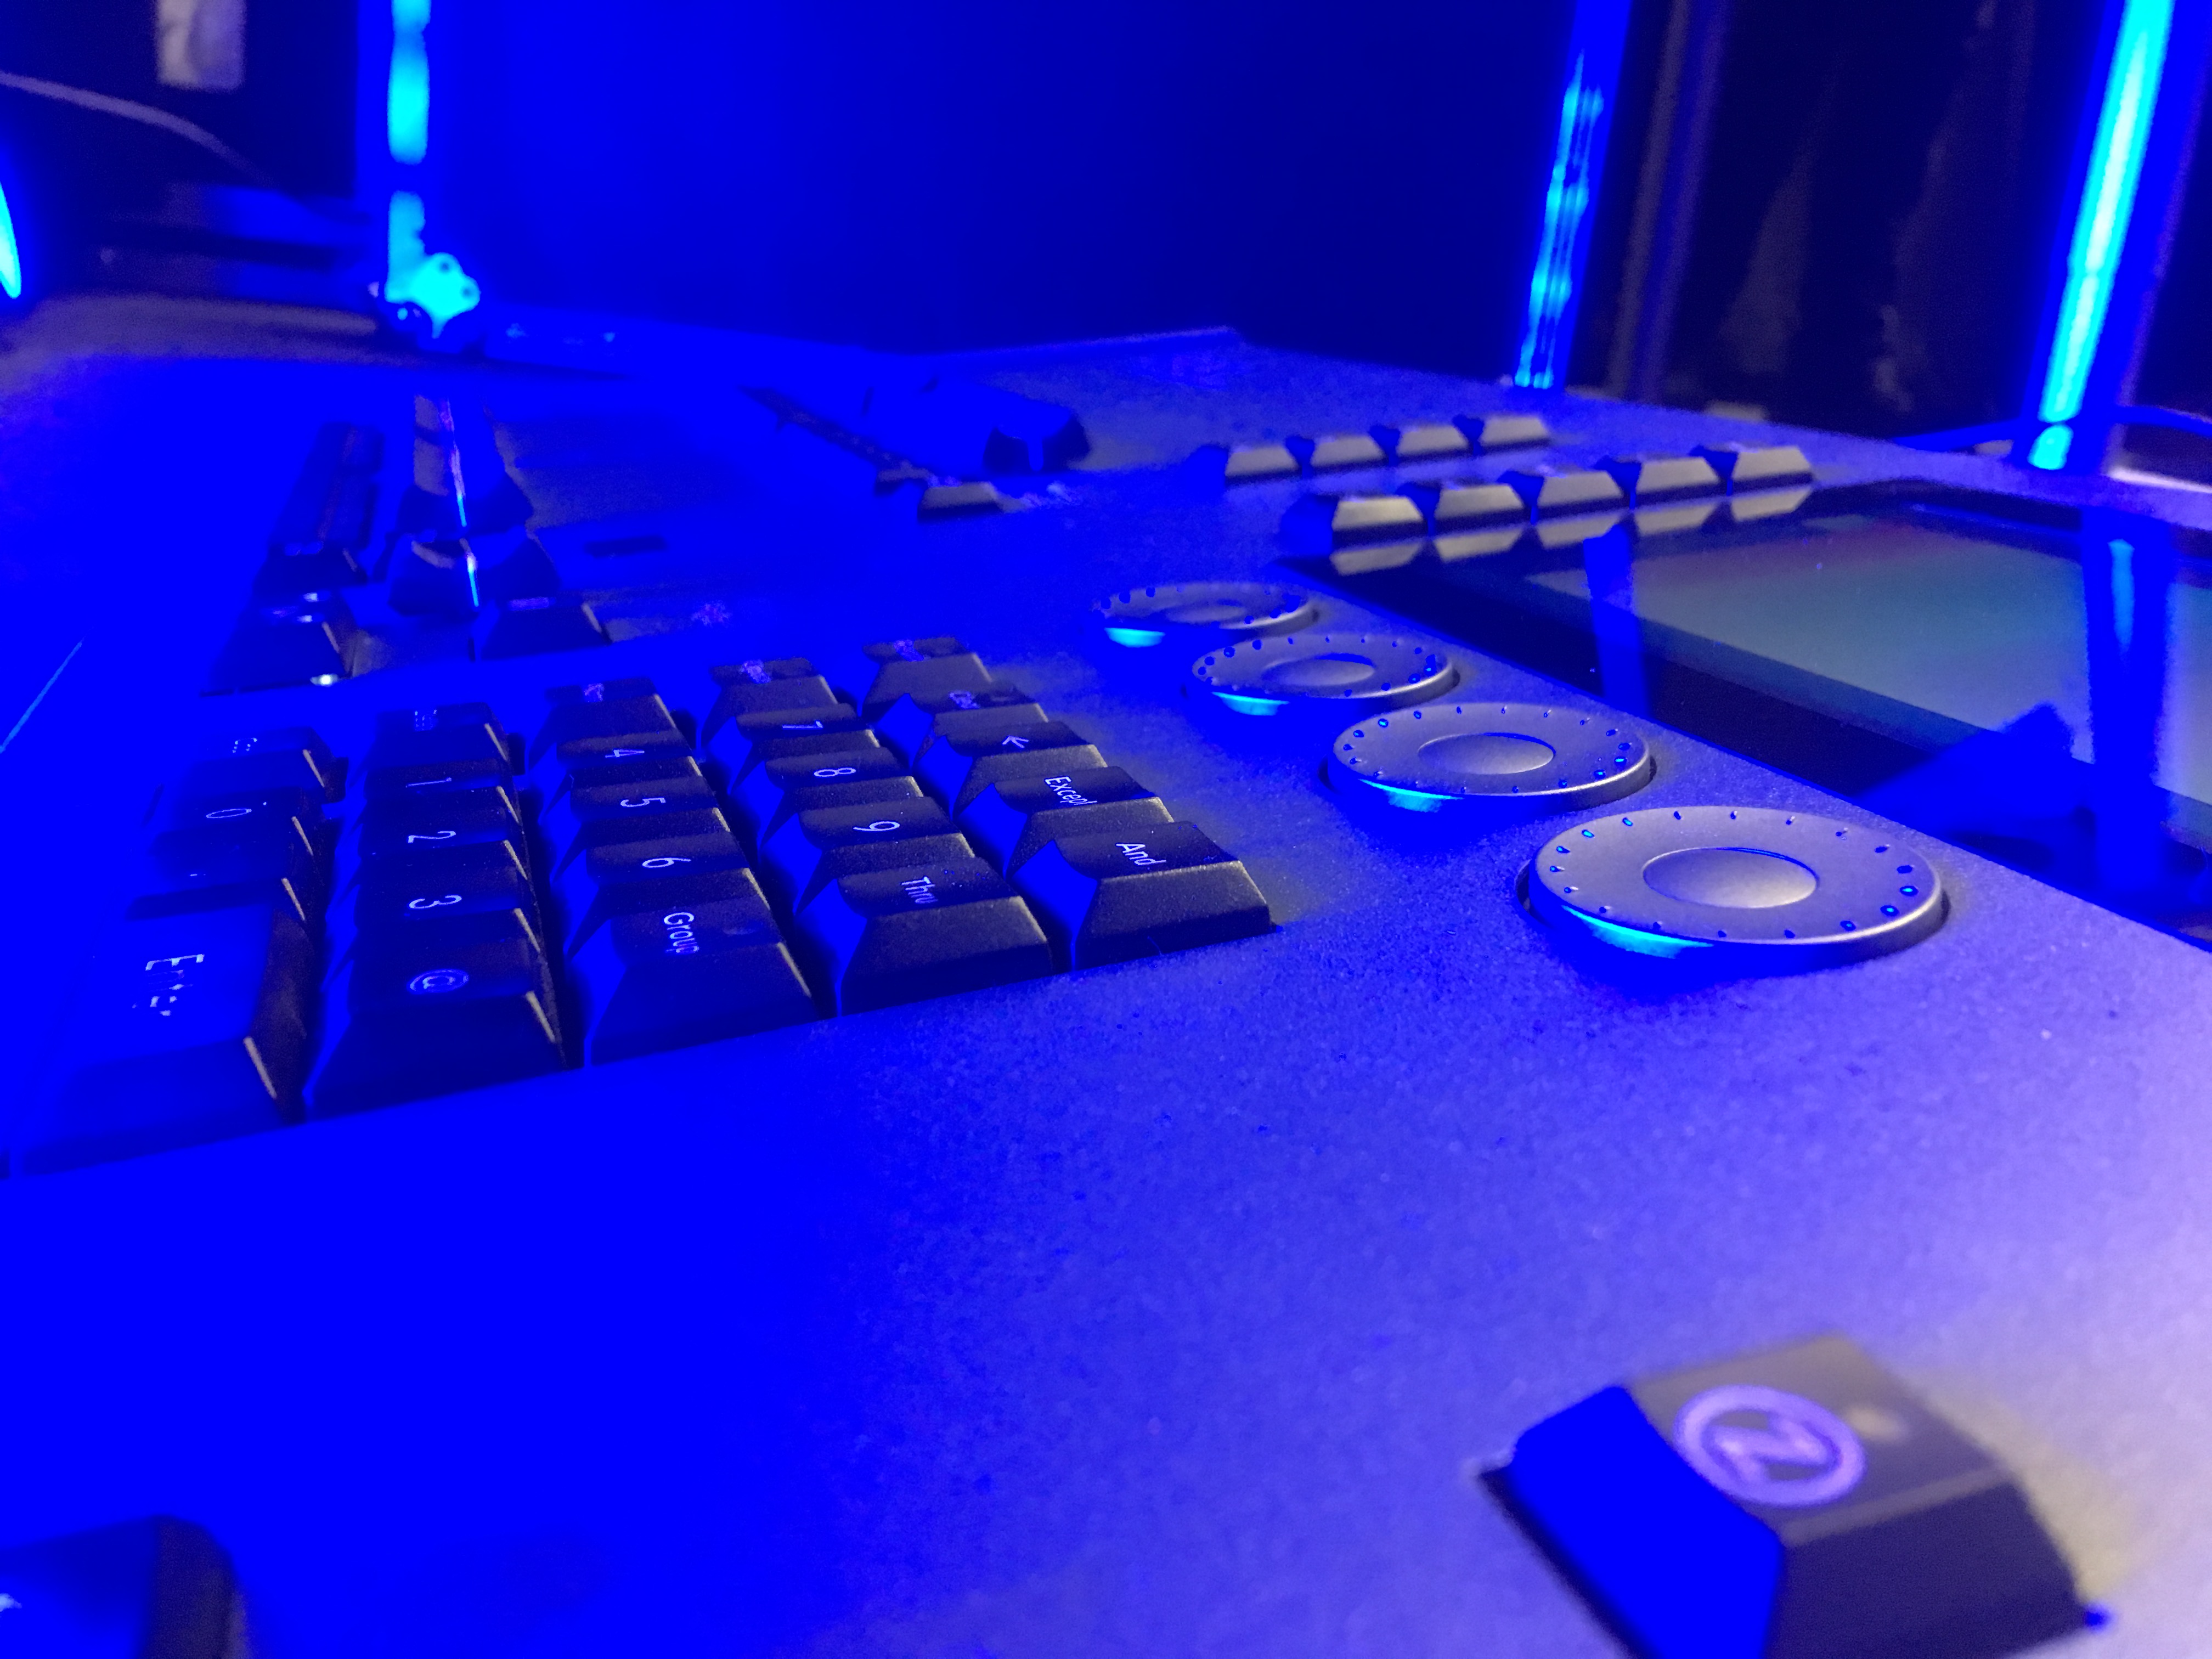
Hi Gabriel, Yes, any Ethernet cabling will work. By default, you should see a screen layout that looks like the image. If you don’t, the windows have either be rearranged, or you aren’t running the latest software on your Solution XL. We always recommend running the latest software, and if you are learning the console it would also make sense to ensure it’s up to date. To check your current software version, view your Outputs Window. If you cannot see the window labelled Outputs Window, tap OUTPUTS to open it. If it doesn’t open, use the desktop chooser bottom left of the screen to change desktops until you find where the Output Window has opened. Then tap Other Windows top left of the Output Window, and then choose System Info from the drop down. In this window will be a line of text displaying the software version. The latest software for Solution XL is ZerOS 7.9.7. If you would like to update the software, please see the information below, and please ask if you have any questions. https://zero88.com/zeros#download To rename channels/ fixtures, see the article below... http://support.zero88.com/1011594321 Hope this helps, Edward -
wireless connection and setting name
Edward Z88 replied to Gabriel Lau's topic in Solution & Solution XL
Hi Gabriel, By XL, I assume you mean Solution XL console. Yes that’s correct. If you have a spare wireless router, the same one used at home, you can simply connect it to the console using a CAT5E cable. You can then enable the remote connection on the console, enable DHCP, and the router will then manage the console and the connected devices. For more information, see below... http://support.zero88.com/996119181 Could you elaborate a little on categorise name? Hope this helps, Edward -
Hi Gabriel, Welcome to the Zero 88 Forum. No, SmartTag is a function, that allows the console to do a bit of work in the background, to make sure what you see on stage at the point of pressing RECORD, is what you’ll get when you play it back. Without SmartTag, only “tagged” values get stored. You can therefore toggle this option on/off to choose how you wish to program on the console. By “tagged”, we mean values you have manually changed, not values from other cues. For more information on this, see below... http://support.zero88.com/1014189311 Tracking is as you describe, where if you add a fixture in, it will stay there until it’s told to go off. May I ask which ZerOS console you have, and what uni you’re at? Feel free to email me this info if you’d prefer. If you’d like to go in-depth, take a look at our training sessions below... https://www.zero88.com/live In particular, check out our session on Tracking, including SmartTag... Hope this helps, if you have any questions let me know. Edward
-
External PSU voltage for Alcora, Level6, Diabolo
Edward Z88 replied to dougd's topic in Other Discontinued Products
Hi Doug, Welcome to the Zero 88 Forum. I can confirm all of these products use PSU 0010211, so PSUs can be interchanged with the products below, as stated in the spare parts list in the product web pages... https://zero88.com/control/level https://zero88.com/control/alcora https://zero88.com/control/diablo PSUs for consoles with analogue outputs are no longer available. The article you found on Google has been deleted recently, and spare parts information has been added to the relevant product pages. If you have any questions let us know. Edward -
Thanks Chris, appreciate it. Edward
-
Question about Update (from French FLX 48 user)
Edward Z88 replied to van den abbeele Eric's topic in FLX S24 & FLX S48
Hi Eric, When a version of ZerOS is released, it will contain the latest library as of the day that version was released. As ZerOS is updated roughly around twice a year, and fixture library updates are released around three times a year, there can be the situation where the latest version of ZerOS doesn't contain the latest library. This is the case currently, as ZerOS 7.9.7. contains library v39, and the latest library is v40. Therefore if you wish to update the fixture library, please download library v40 from the website below... https://zero88.com/library#zeros Hope this helps, Edward -
Hi Chris, This is excellent. Thanks for the write-up, and taking the time to make the video. Really shows how FLX can be triggered as part of a larger system to make life easier! Topic pinned for if anyone else wants to give information on how they use MIDI with FLX. Look forward to seeing you on the training session next week! Cheers, Edward
-
Question about Update (from French FLX 48 user)
Edward Z88 replied to van den abbeele Eric's topic in FLX S24 & FLX S48
Hi Eric, Whatever version of ZerOS they are currently running on their FLX S48, they can install the current latest software by following the instructions found in the release notes. ZerOS 7.9.7 software, along with the release notes, can be found below... https://zero88.com/zeros#download Hope this helps, if you have any questions let me know. Edward -
Question about Jester 24/48 memories recording DMX In ?
Edward Z88 replied to van den abbeele Eric's topic in Jester Range
Hi Eric, When you store a scene, all 512 incoming DMX channels, and the Jester's current channels, are stored. If the other DMX console is outputting channels 49-96, and you store this to a memory or submaster, you will store a scene where 1 to 48 are the Jester's levels, 49-96 are the incoming levels, and 97-512 are at 0. Jester manual v3.4 is correct as per JesterOS 4.1, which is the latest software for Jester consoles. Hope this helps, Edward -
Question about Jester 24/48 memories recording DMX In ?
Edward Z88 replied to van den abbeele Eric's topic in Jester Range
Hi Eric, That is correct. If you connect another lighting console into the DMX input of the Jester, you can store the DMX input state into a memory or submaster on Jester. See page 20 of the manual for more information... https://zero88.com/storage/downloads/7d3249f0-bde3-471d-8830-d4253ff0dc06/Jester-Manual-3.4.pdf Hope this helps, Edward -
Other Question about effect on FLX (FLX'S) Effect possibility
Edward Z88 replied to van den abbeele Eric's topic in FLX
Hi Eric, Yes definitely. Happy for you to add this to the French manual. This will also be included when the English ZerOS manual is updated. Thanks very much for your time. Edward -
Other Question about effect on FLX (FLX'S) Effect possibility
Edward Z88 replied to van den abbeele Eric's topic in FLX
Hi Eric, Yes, that article is still correct as per ZerOS 7.9.7. To remove a single effect from a fixture, select the fixture, and tap EFFECT, until you see Exx on the encoders, where xx is the effect palette number you wish to remove. Then dial the size to 0. The effect is then removed. When updating cues, the best practice is to go into the cue you wish to edit so that it is live onstage, then make your edits, tap UPDATE, and then tap the GO button to store. Hope this helps, Edward -
Other Question about effect on FLX (FLX'S) Effect possibility
Edward Z88 replied to van den abbeele Eric's topic in FLX
Not at the same time on the same fixture, no. Yes, information for all three can be combined into a single effect palette. If you wish to edit an effect that is running in a cue, you can indeed select the fixture, edit the effect using the encoder wheels, and then tap UPDATE, and tap your GO button to store. Edward -
Other Question about effect on FLX (FLX'S) Effect possibility
Edward Z88 replied to van den abbeele Eric's topic in FLX
Hi Eric, On the first “page” if effect encoders, you’ll be changing all currently running selected effects at once. So if you dial speed to a value of 20, all effects will have a speed of 20. Each attribute can only have 1 effect running at once. Therefore the maximum is 4 effects: intensity, colour, movement and beam effect running at once. Yes, you can have completely different effects running independently simultaneously with different fixtures. More Information here... http://support.zero88.com/1011404471 Hope this helps, Edward -
(I have deleted your duplicate post just to keep this information all in one thread and topic)
-
Hi Eric, Thanks for looking into this. We will leave the touchscreens that have been discontinued on the list, just so that if people have one lying around or buy second hand they are still known to work. Cheers, Edward
-
Question about Effect on FLX'S (recording possibility)
Edward Z88 replied to van den abbeele Eric's topic in FLX
Great, thanks Eric. -
Question about Effect on FLX'S (recording possibility)
Edward Z88 replied to van den abbeele Eric's topic in FLX
That is correct. After adjusting the auto effects using the encoders, you can then tap RECORD, and then tap an empty effect palette to store the edits. Hope this helps, Edward -
Question about Effect on FLX'S (recording possibility)
Edward Z88 replied to van den abbeele Eric's topic in FLX
Hi Eric, That is correct. On page 37 of the manual in the Waveforms section, there are crosses (x) next to FLX S24 and FLX S48. This is because Waveforms are not available on FLX S. Waveforms are available on FLX only, as this window is much easier to navigate with the cursor keys. Speed, Size and Offset (and Rotation for movement effects) are available on the encoder wheels to edit the auto effects on FLX S, in the same way they are on FLX. Edward -
Gateaway 4 and 8 - ZerOS on PC
Edward Z88 replied to van den abbeele Eric's topic in General Discussion
These can be purchased from a Zero 88 distributor. The part number is 00-887-00. Edward -
Gateaway 4 and 8 - ZerOS on PC
Edward Z88 replied to van den abbeele Eric's topic in General Discussion
The maximum recommend length for an Ethernet cable (from node to node) is 100m. For lengths longer than this you would need an Ethernet switch to “boost” the signal, or for very long runs convert to fibre. The maximum recommend cable length for DMX is 300m. As with both cases, depending on your system you may be able to achieve greater distances. Ethernet cables and connectors aren’t as rugged as DMX cabling and XLR connectors. However, you can use EtherCON connectors (the connector on the rear of FLX and on our Gateway products), along with toughened cables, to make the cable run just as rugged as a quality DMX cable. The length limitations still apply. Hope this helps, Edward -
Gateaway 4 and 8 - ZerOS on PC
Edward Z88 replied to van den abbeele Eric's topic in General Discussion
Hi Eric, No date on this yet unfortunately. When we are shipping them you will be able to purchase them from Zero 88 distributors. With good quality networking products, sending DMX over Ethernet and then converting back to DMX is just as reliable as a fully DMX system, how with all the added benefits Ethernet brings. For a discussion on Ethernet networking, take a look at our session below... If you connect a ZerOS Unlock Dongle to a PC, this allows you to output DMX directly from your PC. You can do this by either using a USB to DMX dongle that supports the ENTTEC standard, or by outputting sACN/Art-Net directly from your Ethernet port. Using a gateway (such as Gateway 4 and Gateway 8 when they’re released) allows you to then convert your Ethernet DMX back to DMX. Hope this helps, if you have any questions let us know. Edward -
Sunstrips / Matrix / many DMX Chanels using
Edward Z88 replied to van den abbeele Eric's topic in General Discussion
Hi Eric, Yes, this is on our road map. Somewhere on the forum there are pictures of an early beta version of this on ZerOS. Cheers Edward