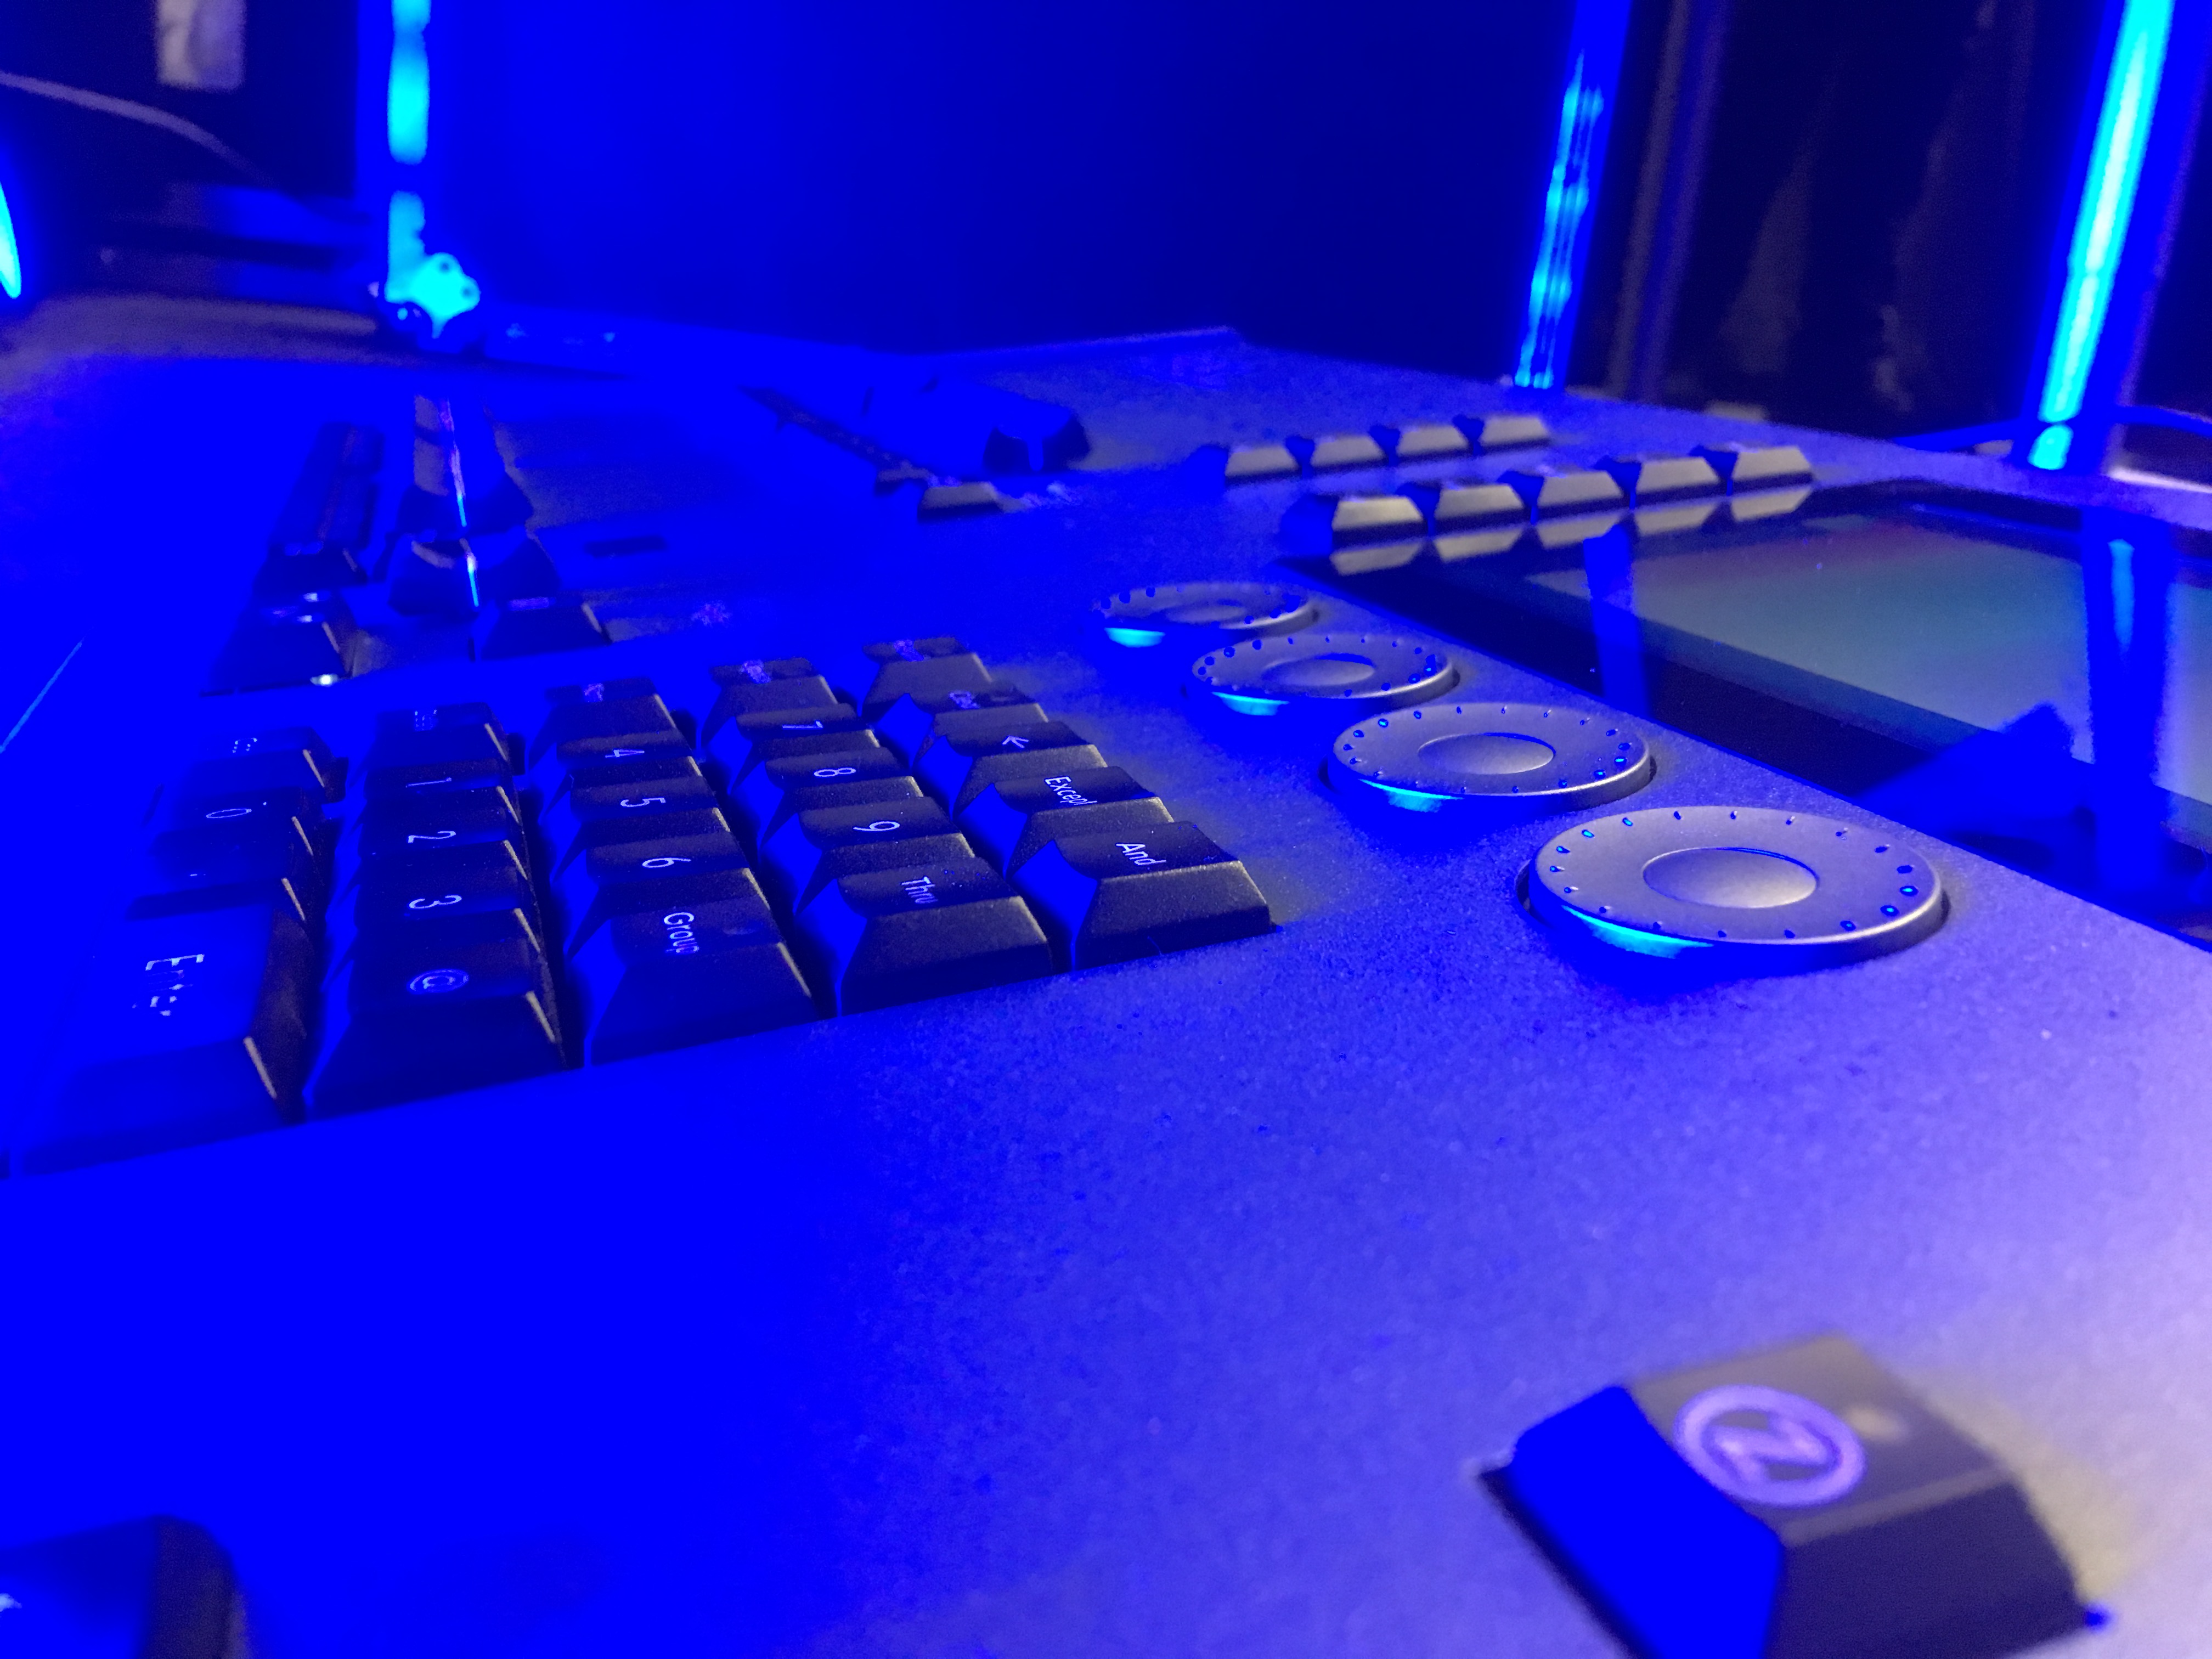
Edward Z88
-
Posts
3,294 -
Joined
-
Last visited
-
Days Won
85
Everything posted by Edward Z88
-
Hi TEGA, The playback settings can be accessed in the usual way - hold SETUP and tap the playback’s button. From the top, choose Move on Dark to access the move on dark settings for the playback, including the new Shape settings. In ZerOS 7.9.8, any fixtures that are not from the fixture library, will be displayed in red in the Fixture Schedule and Add Fixtures. This also gives the ability to convert your non-library fixtures, to library fixtures, if required. If your fixtures are missing from the new library format, feel free to email us at fixturesupport@zero88.com, and let us know which fixtures are missing, and we will get them added for a future library release. I hope this helps, if you have any questions let me know. Edward
-

FLX S24 Communication Erros reported by Co-Processor
Edward Z88 replied to beppern89's topic in FLX S24 & FLX S48
I have removed the link to the video in your post, to protect your console’s serial number. Please keep the video link active though, so our software team can take a look. Edward -
FLX S24 Communication Erros reported by Co-Processor
Edward Z88 replied to beppern89's topic in FLX S24 & FLX S48
Hi Stefan, Really sorry to hear this. Thanks very much for linking to a video of the issue. When the issues are shown, do you always have your USB hub connected? If so please could you send a link to the USB hub you are using? If you disconnect the USB hub, do the issues go away? This potentially sounds like a power issue, and the hub is trying to draw too much current from the USB ports. If you have any questions please let us know. Edward -
Correct. Unfortunately the “First Note” field is applicable for “Separate Octaves”, however is incorrectly hidden when Separate Octaves is chosen. Logged on our system, to be fixed in a future update. Most people will just live in “Separate Octaves” with the default of the First Note of 0. Edward
-
Hi David, I reckon I have worked out where the confusion may be. If you tap SETUP -> Triggers -> Combine Octaves, what is your “First Note” set to? By default, this should be 0. This will mean in Channels, a Note 1 triggers fixture 1, in Cues Note 1 triggers cue 1, and in Playbacks Note 0 triggers playback 1. If you have the First Note set to 1, and then click Separate Octaves, in Playbacks Note 1 will trigger playback 1. Note 0 will have no function. Could this be what you’re seeing? If so, to save @Uriahdemon remapping all the Novation buttons, you can tap Combine Octaves, change the First Note to 1, and then click Separate Octaves. Edward
-
Hi David, This has been how MIDI Notes has operated on ZerOS since it was introduced - the first note (note 0) triggering playback 1. Therefore if your configuration was working, a software update won’t change that. So not sure where the problem Mac has found has arisen from? When we do come to map the MIDI Notes 1:1 with playback’s, you will need to remap your set up. Edward
-
Hi Joe, Just thought I'd post to confirm that recording intensity effects onto UDKs play back correctly. Edward
-
Hi Mac, No problem - in a future update we will ensure MIDI Notes are patched 1:1 with playbacks, which will also allow the Master Playback to be triggered. Edward
-
Hi Mac, MIDI Notes 0, will trigger playback 1, and MIDI Note 1 will trigger playback 2 and so on. This may be what you are seeing? Edward
-
Manual Fade and Go Fade in Cue list + BUG ?
Edward Z88 replied to Transversales's topic in FLX S24 & FLX S48
Hello, No there isn't - if you choose to use the Manual Fade options, the fader advances you through your cues, rather than the Go button. After operating a cue list with Manual Fader 1-way or 2-way, it cannot simply be changed to a different Fader Function. Therefore if you do wish to operate the cue list with a different fader function, change the cue list to the fader function you need, and then copy it to an empty playback fader. The new copy will then playback with your newly chosen fader function. We are aware of this issue, where after manually releasing a Manual Fade playback it can no longer be triggered. This is logged on our software tracking system as reference number ZOS-5803. If you have any questions let us know. Edward -
Hello, After resetting the console, currently the active window is the Output window. To focus onto the Cues window on the external monitor if you don't have a mouse or touchscreen connected, jump into the playback's settings and then click OK. Your arrow keys will navigate the Cues window. Or, coincidentally, use the syntax DELETE 0 ENTER. Edward
-
Hi Alex, Thanks for all your information on this. We have found an issue that is affecting the encoder displays on some ORB series consoles. We will look to release a bug fix for this as soon as possible. In the meantime if you wish to roll back to ZerOS 7.9.7, please see the link below... https://zero88.com/zeros#legacy If you have any questions please let us know. Edward
-
Hi Alex, After recording a cue with intensity information stored, please tap on the "Fade Up" or "Fade Down" fields in the Cue list window. Do the encoders display fade and delay times correctly? Edward
-
7.9.8 Keyboard shortcuts - nice but...
Edward Z88 replied to Pritch's topic in Solution & Solution XL
Hi Pritch, Thanks for the comments. We had quite a few conversations about which key should be Thru. The > symbol makes the most sense as being Thru, and has been the shortcut for Thru on ZerOS for many years. We therefore decided to leave Thru as > as this is what users will be used to, despite the fact you need to use Shift. Forward slash (/) is used on FLX to allow you to define a Playback/Cue number, and so we couldn’t use / for Thru. If you have any questions let us know. Edward -
I'm going to guess, in Setup -> Triggers, MIDI Notes is set to playbacks, and the Channel is left at 0 (to receive Notes commands from all channels), or set to the channel number set on the Novation. Your octaves will likely be set to "Separate", to give you access to playbacks 0 to 127. Edward
-
^Yep exactly right, tap Z -> System Information -> Event Monitor to see incoming MIDI Notes or MIDI Show Control commands. Incoming MIDI Timecode clock can be found in the status bar along the bottom of the Cues window on the external monitor. Edward
-
Hi Alexander, Thank you for confirming. On ORB XF, if you select a fixture, and encoders 2 and 3 remain blank, please view the "Wheels" desktop on the external monitor. Are the parameters displayed on encoders 2 and 3 here? If you use the physical encoders, do the values change on the external monitor? Edward
-
Hi Joe, Yes don't worry nothing you have done - thanks very much for helping us find the issue! Edward
-
Hi Joe, Thanks for the further information. I have been able to recreate the issue. There is an issue in some scenarios where the effect parameters for intensity effects are not getting recorded into cues, for multi-parameter fixtures. I have logged this on our software tracking system as ZOS-10476. Currently no release date yet, but we may do a minor release to fix this, and also include an update to ZerOS Library. If you have any questions please let me know. Edward
-
Hi Steve, Are you controlling any other fixtures on that DMX line? Are they also showing a "flicker" when the starcloths do? You say the display in the controller box flickers - this almost sounds like a power issue, where they are momentarily loosing power and booting back up? Are both starcloth controller boxes connected to the same power supply? If you disconnect the controller boxes from the DMX line, and leave and watch them, do the displays continue to flicker? If you have RigSync disabled and this hasn't had an effect, then this rules out an out of spec fixture being the issue. You've tried all the usual troubleshooting of new cabling and terminators to rule these factors out too. The console will be outputting DMX at a continuous 30Hz, so there is nothing obvious that could be causing this. If you'd like to give me a call when you're in the venue troubleshooting it, drop me an email and I'll send you my number. Edward
-
Hi Chris, I have taken a quick look at the YouTube link. If I wanted to run my show like this on FLX, I would simply use some intensity playback masters, and then a touchscreen with all my palettes programmed, which I can then just tap and fade between using Programmer Time. To achieve this via MIDI, you can then just instead record your different looks onto individual playbacks which can be triggered by Notes, and fade between them using the cue fades. Edward
-
Hi Alex, I have patched a BriteQ BT-575S into Phantom ORB XF running ZerOS 7.9.8. Selecting the fixture and tapping COLOUR, shows me "Colour Wheel" and "Colour Wheel Mode" parameters on encoders 1 and 2. Tap BEAM, and gobo controls are shown on encoders 2 and 3, tap BEAM again and I can page through. What are you seeing when doing this? Are the encoders remaining blank (blue)? Is the "Intensity" display visible above the intensity wheel? Have you held SETUP and adjusted the LCD contrast? The Fixture Editor software still allows you to create fixtures in the .ift file format, which can be loaded into ZerOS 7.9.8. These custom fixture files will therefore be displayed in red in Add Fixtures and the Fixture Schedule, to indicate the fixtures are not from the library. If you would like fixtures adding to the library which are missing, please email the fixture's manual to us at fixturesupport@zero88.com, and we'll be able to get this added to the library for the next release. I hope this helps, if you have any questions let us know. Edward
-
Hi Joe, Great, thanks very much for attaching your show file. I will take a look at this tomorrow and investigate what may be going on. Edward
-
Hi Joe, "Don't Move Effect" will be chosen by default. This is to ensure that if a fixture goes dark, it does not start running an effect that is coming up the next time the fixture is used. This is to avoid your fixtures unnecessarily moving in the rig. I am a little unsure of what your initial issue may have been. I have been unable to recreate the issue you have described, however, glad to hear you have solved it! Edward
-
Hello, Thanks for the information. Yes please take a look when you next get a chance - when DMX In is controlling a playback, the physical fader level and fader level from the DMX Input should mix with LTP catch behaviour. 24 channels of DMX In can be sent to Phantom, by opening the "DMX In Panel" window from the Phantom ZerOS launcher, and then using the virtual faders to emulate your DMX input. Well spotted - the parameter table is not updating the tag/untag state straight away when parameters with no Special defined and no details are manually tagged/untagged. The encoder displays are updating correctly, and tapping into the Output window updates the parameter table correctly. I have logged this on our software tracking system as reference number ZOS-10473. I hope this helps, if you have any questions let us know. Edward